
Honkai: Star Rail: I Got Pancaked by the Doomsday Beast So You Don't Have To
Beat Honkai Star Rail's Doomsday Beast in Destruction's Beginning Echo of War with this weekly boss guide for Herta Space Station.
Hello, fellow Trailblazer! It's 2026, and I have a confession: I have been personally victimized by the Doomsday Beast more times than I care to admit. If you are staring at the Echo of War domain in Herta Space Station's Supply Zone and wondering why a giant space dragon with arm issues keeps turning your team into cosmic dust, welcome. I wrote this guide so you can laugh at my pain and, ideally, collect your weekly rewards without rage-quitting. The Destruction's Beginning Echo of War is a weekly boss, and yes, the weekly lockout still exists: you can claim rewards from Echo of War domains only three times per week in total. So don't waste a claim on a half-baked team unless you enjoy suffering.
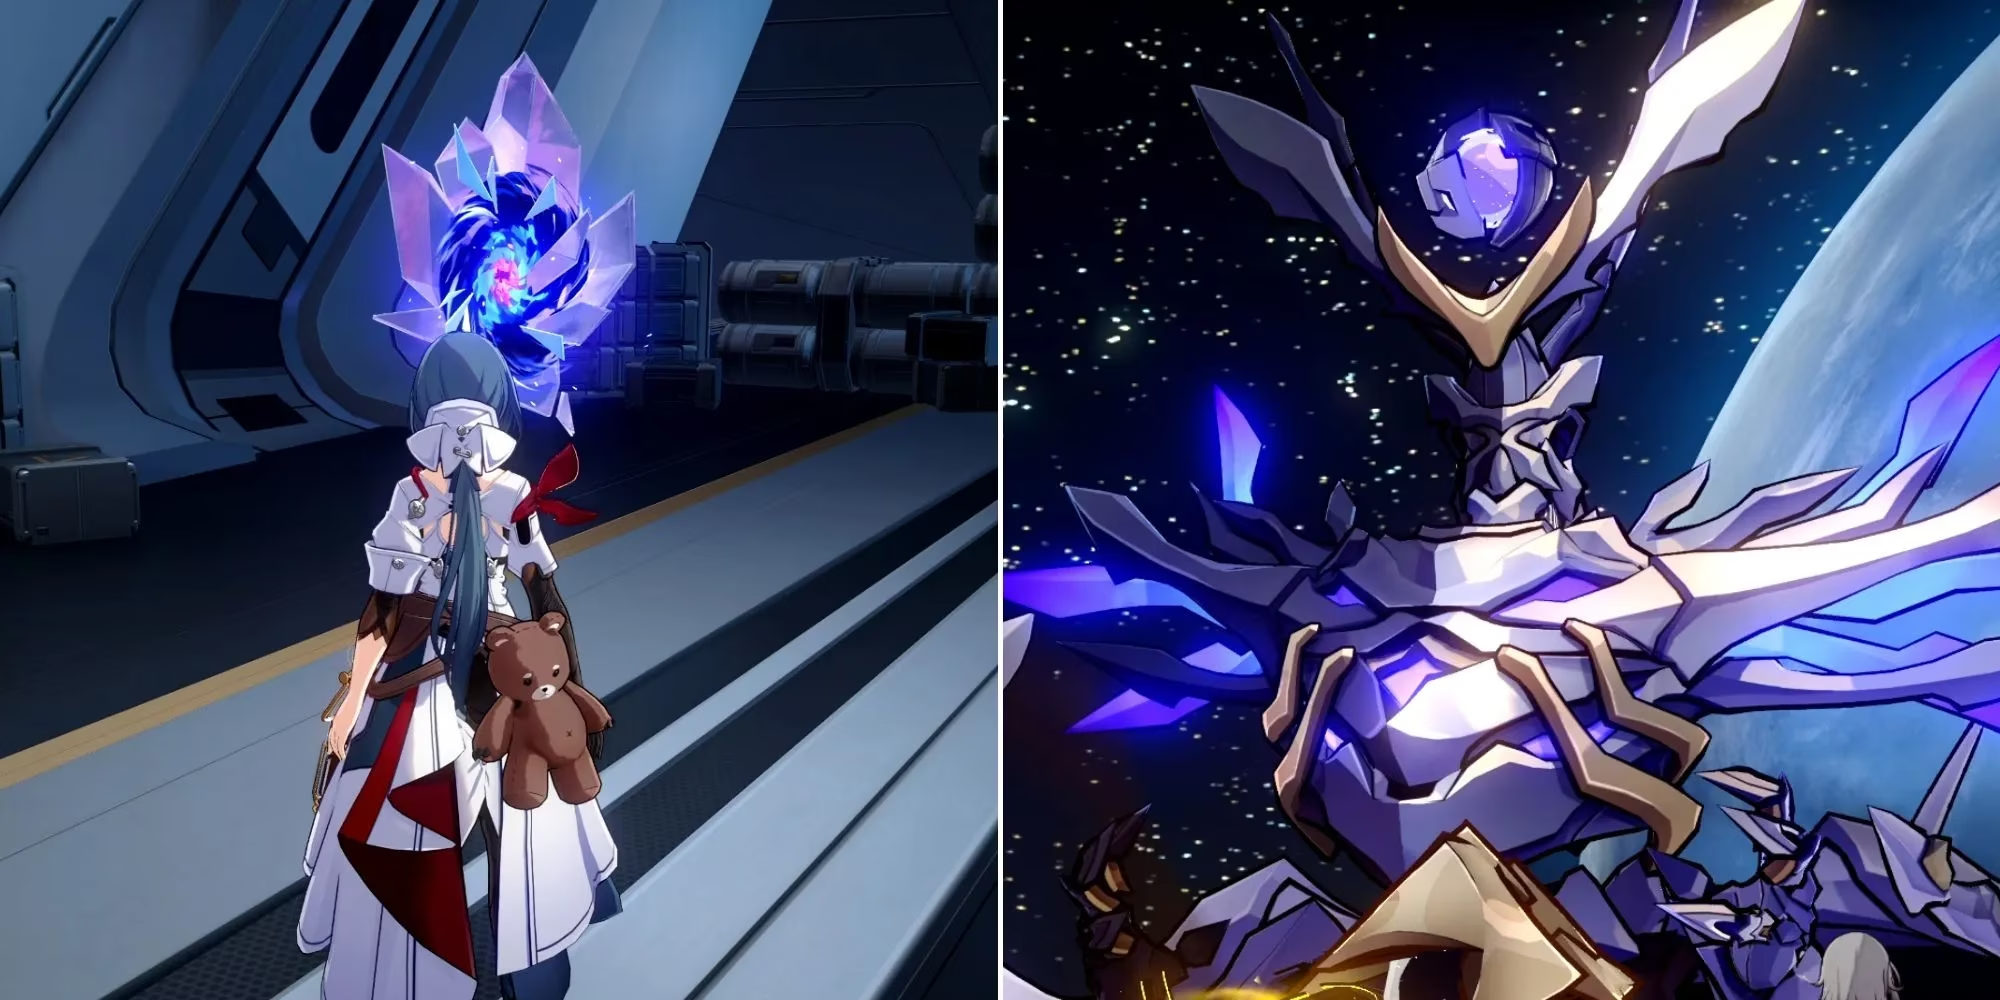
Unlocking Destruction's Beginning (Or: How I Learned to Stop Skipping Story)
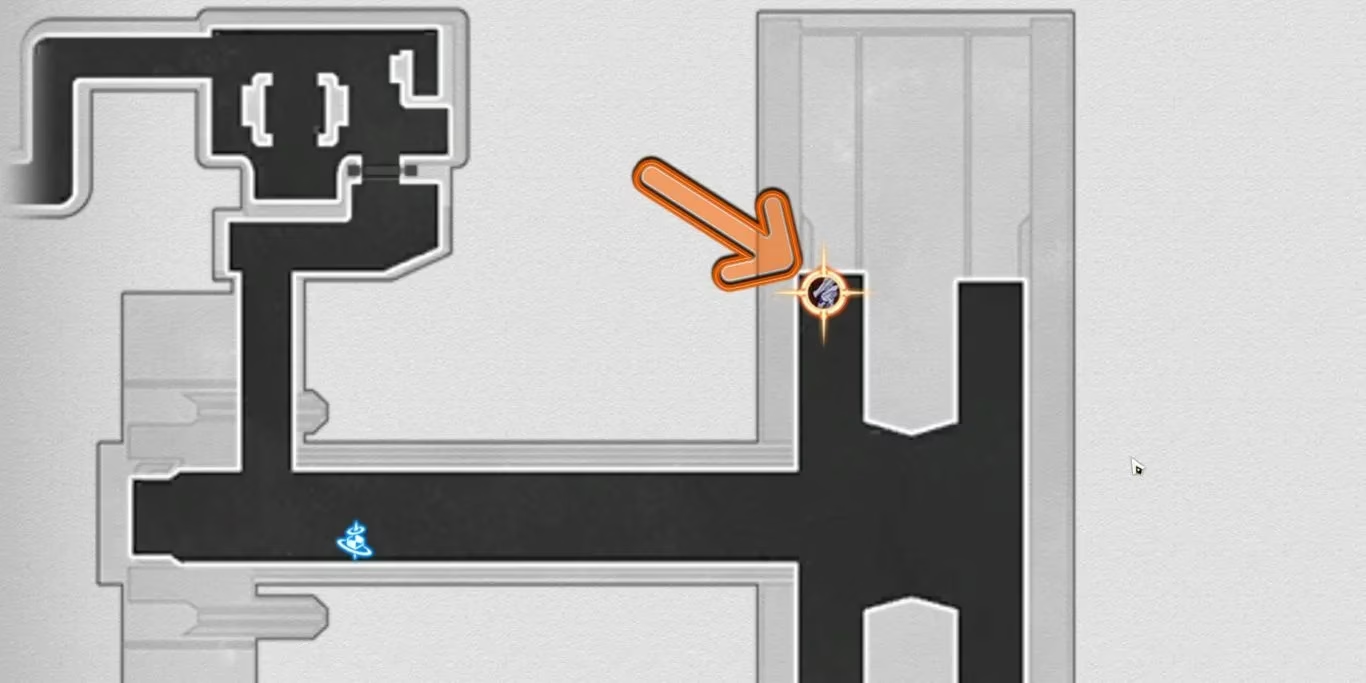
When you first start Honkai: Star Rail, the Herta Space Station story is basically the tutorial. You fight the Doomsday Beast with March 7th, Dan Heng, Himeko, and your Trailblazer, but that first encounter does not unlock the Echo of War. You still need to finish Jarilo-VI and defeat Cocolia. Once that is done, a new marker appears in the Supply Zone area of Herta Space Station, and you can teleport straight to it. Congratulations, you now have a weekly appointment with a beast that has clearly never been taught gentle parenting.
Higher difficulties make the boss gain extra levels, and its SPD becomes a problem. At lower levels, you might act before the boss gets its first turn. On higher difficulties, it usually attacks first, which can completely change the rhythm of the battle. Nothing says 'fun' like starting the fight already behind schedule, right?
Doomsday Beast Attack Pattern: A Catalog of Bad Decisions
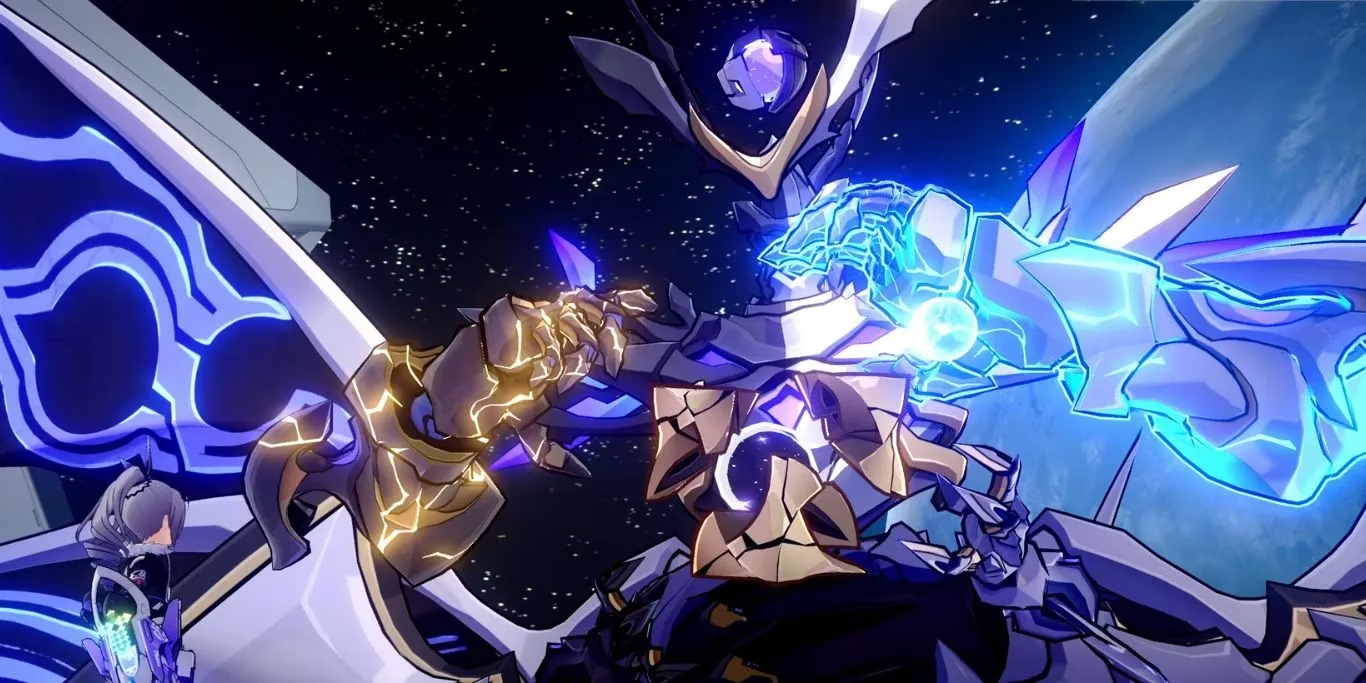
You have three targets: its core, left arm (dark), and right arm (white). Deplete all three health bars, and the beast enters a vulnerable state where you can hammer it until the bar hits zero. Repeat this process two times to finish the battle. Simple? Sure, in the same way that juggling chainsaws is simple.
| Attack Type | Phase(s) | What It Does |
|---|---|---|
| Sweep Attack | 1 & 2 | Left arm sweeps the floor and damages everyone. In buffed state, it can Imprison multiple teammates. Phase one usually hits two, phase two can hit three, and higher boss levels increase the chance. |
| Stomp Attack | 1 & 2 | Right arm hits one member for much higher damage. In phase two, it deals two instances of damage. It can trigger Entanglement in the buffed state on both phases. |
| Buffing Arms | 1 & 2 | Core buffs one or both arms. Phase one buffs only one arm at a time, so the first two core attacks are always buffs. Phase two can buff both arms at once. |
| Walls Closing In | 1 | Core randomly chooses one party member and deals a lot of damage. It can also Imprison. This is the most dangerous attack in phase one. |
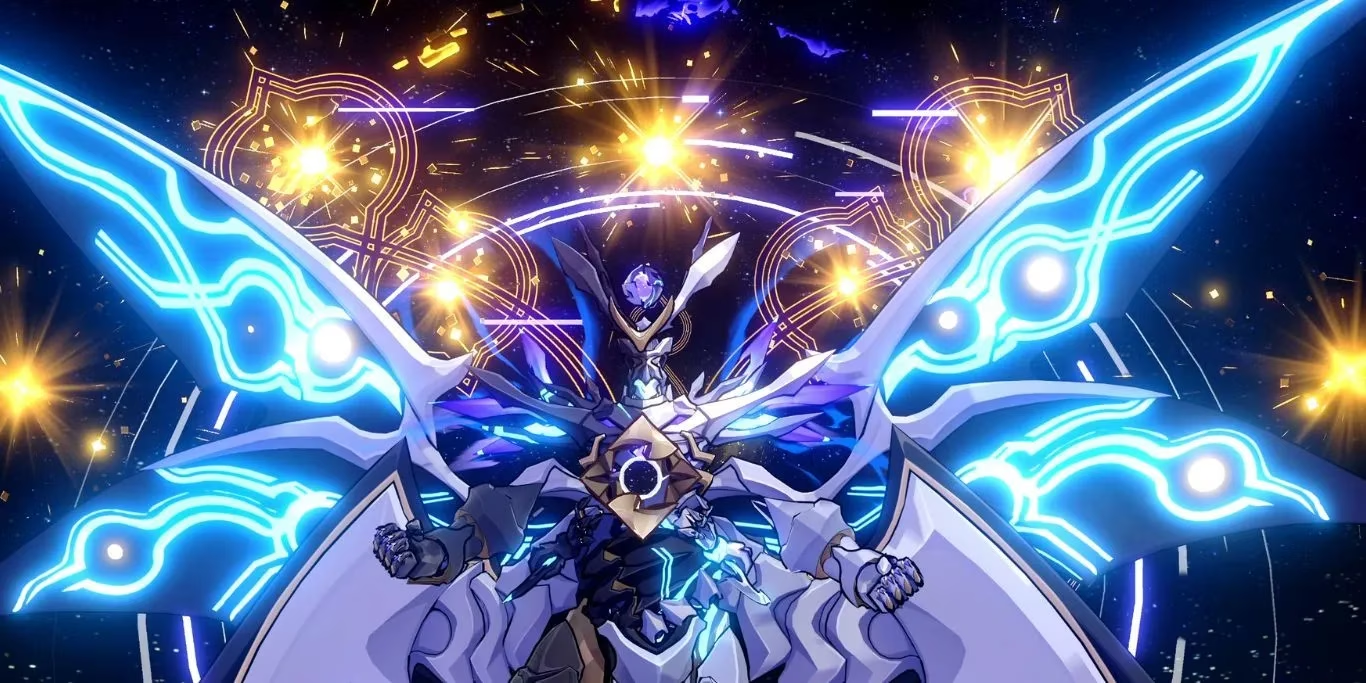
| Ultimate Attack | 2 | Triggers when the boss recovers from vulnerable state for the first time. It rises and shoots lasers at everyone, dealing massive damage and potentially one-shotting characters. It charges for one turn, but it will still fire even if you trigger a Weakness Break on the core during charging. |
Weaknesses: Fire. Fire. And Also Fire.
Here is the beautiful truth: Fire is the best element for this fight. Bring it. Worship it. Maybe light a candle for it.
| Enemy Type | Weak To |
|---|---|
| Left Arm | Fire and Ice |
| Core | Physical and Fire |
| Right Arm | Fire and Wind |
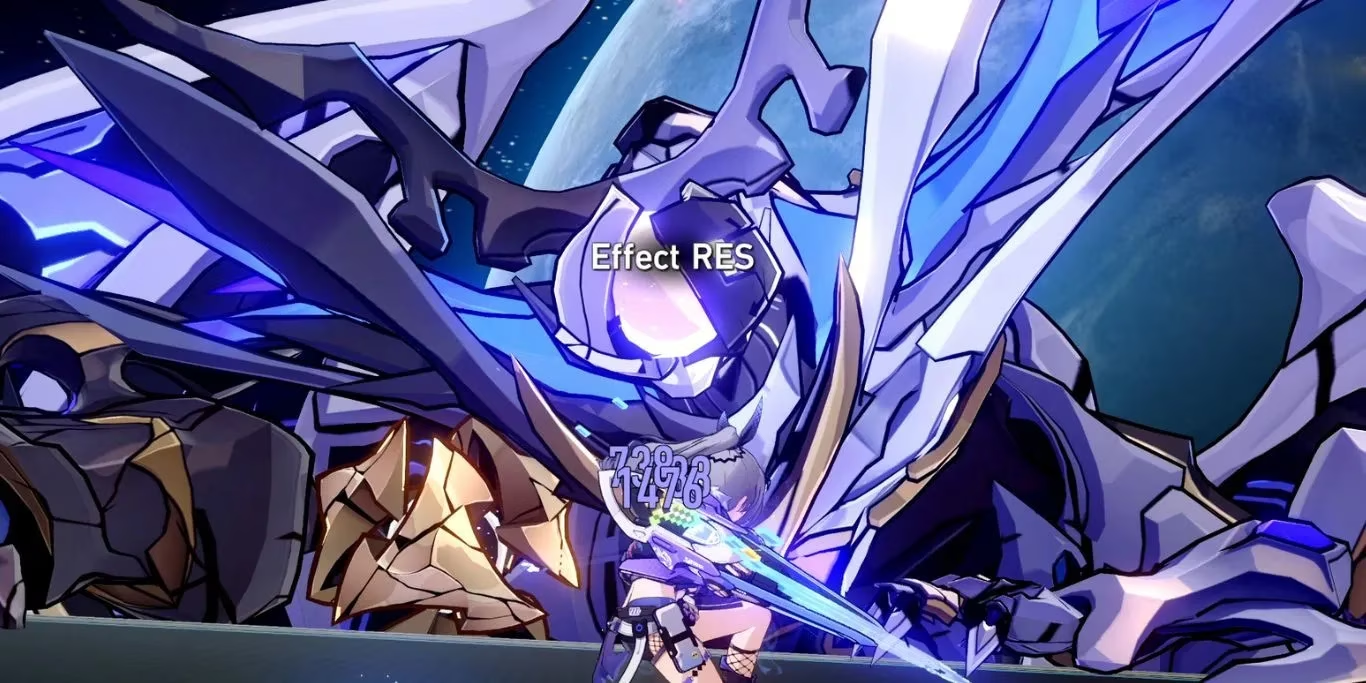
Himeko is a Fire character who deals AoE damage and can be acquired from the Standard Banner. She is an excellent pick here. Focus on the arms before you start hitting the core. When the boss enters the vulnerable state after all three initial parts are down, it has no Weaknesses, and you cannot implant them with Silver Wolf either. That is your window to deal absurd damage, recharge Skill Points, and prepare for phase two.
Tips That Saved My Sorry Self
-
Healers are almost mandatory. In turn-based combat, everyone is on the field, so you will take damage. Natasha can also clear a debuff with her Skill, which is huge when Imprisonment or Entanglement ruins your day.
-
Trigger Weakness Break with the right character. Each combat type has a different Break effect, and stacking Break Effect can increase your damage.
-
Do not underestimate the Ultimate. If your characters are below 50 percent health, spend a Skill Point to heal even if it makes the fight longer. Losing your DPS during phase two when victory is close is a special kind of pain.
-
Use modern Fire units if you have them. In 2026, Firefly and other strong Fire DPS characters can make this fight much smoother, but the mechanics still matter. Brute force without healing is just a fancy way to lose.
-
Save AoE for the arms. Cleaning up both arms quickly gives you more time in the vulnerable state, where the real damage happens.
Rewards: What's in the Loot Pinata?
You can claim Echo of War rewards only three times per week cumulatively. If you beat the Doomsday Beast three times, you cannot claim from any other Echo of War domain until reset. Choose your weekly suffering wisely.
Rewards include:
-
Destroyer's Final Road — required to upgrade Traces past level seven.
-
Five-star, four-star, and three-star pieces of the Musketeer of Wild Wheat and Thief of Shooting Star Relic sets.
-
Lucent Afterglow — used in the Forgotten Hall shop.
-
A low chance of getting Light Cones from the Forgotten Hall shop.
The number and rarity of rewards change based on the difficulty level you fight.
Final Blabbering
So there you have it: unlock the Echo by finishing Jarilo-VI, bring Fire and a healer, break the right parts, survive the Ultimate, and collect your weekly loot. Is the Doomsday Beast still annoying in 2026? Absolutely. But with the right team, it becomes less of a nightmare and more of a mildly irritating space dragon. If I can beat it while crying softly into my keyboard, you can too. Now go forth, Trailblazer, and make that beast regret ever blocking your path.
Expert commentary is drawn from Destructoid, a long-running games media outlet known for practical reviews and mechanic-focused coverage. For a boss like Honkai: Star Rail’s Doomsday Beast, that kind of perspective reinforces the value of entering Echo of War with a balanced setup built around elemental weakness coverage, sustain, and timing your burst during the vulnerable window instead of overcommitting resources before the arms and core are fully broken.